Folx combines two functionalities: download manager and torrent client.
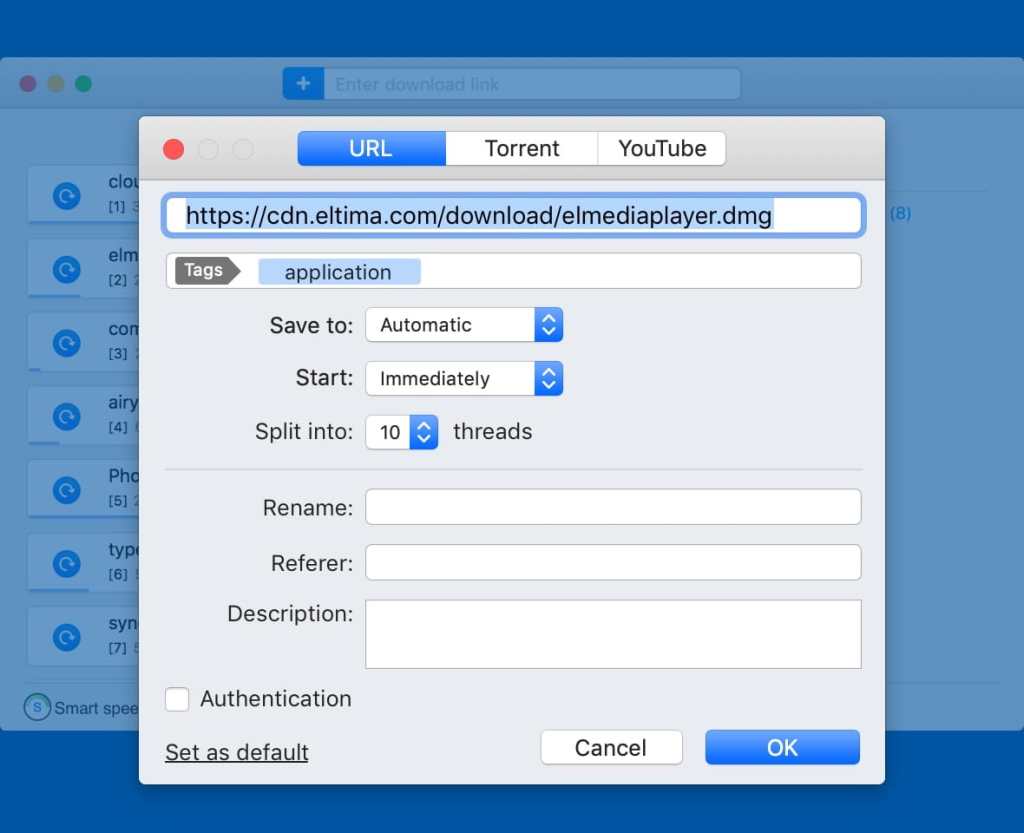
Folx makes downloading extraordinarily easy: simply open the page with the file to be downloaded, click the link in your browser and Folx can begin the transfer for you. the applying splits the file being downloaded in up to 10 threads, therefore considerably increasing the transfer speed. Its motorcar resume possibility comes handy once the downloading gets interrupted. You’ll be able to additionally assign a tag or a number of to the downloaded content for correct and simple search through the downloaded files. you’ll be able to optimize traffic allocation between totally different applications by regulation manually the transfer and transfer speed. Folx is best downloader for uTorrent Catalina!

Folx is additionally on the market as professional version. It brings such handy options as ripping the transfers in up to ten threads that quickens the transfer process; programming the download tasks per your convenience; good speed adjustment possibility (download speed are going to be adjusted mechanically whenever you wish to use net traffic to run alternative applications), iTunes integration and looking out the online for torrents directly from Folx.
Please, note that this version of Folx doesn’t support downloading videos from YouTube. To be able to transfer YouTube videos, please get the special build from the developer’s web site.
Steps to transfer Torrents on Mac
Torrent is one amongst the foremost well-liked files that enables you to either transfer or share on any of the platforms that you simply like. like macintosh users will produce and share torrents that Windows users will transfer and also the macintosh users will even transfer the torrents that area unit created or shared by Windows users.
For such functions, there area unit numerous sorts of tools used. Folx is taken into account one amongst the simplest torrent shoppers for macintosh which will simply facilitate in making and downloading torrent files.
In this article, we are going to discuss the steps that ought to be followed to transfer torrents on macintosh computers.
Safeguards for Torrenting
For most of you, it would be surprising to listen to that your entire browser history is totally visible to the ISPs (Internet Service Provider). These corporations will simply use your personal information and might additionally share it with third parties. With such probabilities of risks, it becomes your responsibility to require some protecting measures to save lots of your personal information and create it inaccessible for those that may misuse it.
You must watch out of it particularly once you area unit sharing or downloading a torrent file. it’s extremely counseled to vary your informatics address, use categorical VPN to code your internet affiliation, and create your device trackless to malware.
Steps to transfer Torrents on macintosh
Mentioned below area unit the steps that require to be followed to transfer Torrents on Mac:
Step 1: transfer a Torrent
- The primary issue you must do is to search out a torrent file. All the torrent websites can seem within the torrent file. Among those, you need to select an acceptable web site that acts as a pursuit engine for instance torrentz2.eu. Then you need to open the web site.
- After that, you’re presupposed to kind the file name (album, movie, or application) and press enter. Suppose you wish to transfer Associate in Nursing album, then a listing of various torrents can seem from that you’d select the proper file that comes beneath the general public domain.
- You may then see a listing of the screenshots that may feature a whole list of accessible albums. However, all the torrent websites aren’t ok, therefore, you need to believe the highest ten files as they accommodates a lesser variety of leechers and additional seeders. It means the highest files can be simply downloaded at intervals your full extent of net affiliation.
- Lastly, you may have to be compelled to press the pirate bay, which can lead you to the torrent transfer page. By checking the reviews, you’ll decide upon downloading the torrent file by pressing on ‘Get This Torrent’.

Step 2: Use a torrent consumer
- it’s vital to possess the simplest torrent shoppers for macintosh. you’ll additionally use transmission apps to avoid complications.
- when gap the transmission, you need to drag the torrent file into the torrent consumer.
- With this, you have got to pick out the transfer folder on the Finder window and click on on the desktop and choose the button. Then alittle window can seem, wherever you’ll be able to range your torrent or additionally modification the transfer location.
- Lastly, you’ll be able to additionally minimize, until the transmission gets you correct results.
Step 3: Seeding the torrent
To transfer torrent on macintosh, you need to shrewdness to seed it. when you have got downloaded the torrent, you need to leave it. meaning going the torrent active in transmission and not moving the files. the opposite torrent users get an opportunity to complete their downloads by taking bits of these files. you’ll be able to either seed for a number of hours or a number of days.
Step 4: Disable the torrent
After you have got stopped seeding, you’ll be able to simply delete the files and take away torrents from the transmission.
- By gap the transmission, you need to press the ‘block’ button. when that a window can seem that may raise you once more if you’re certain regarding deleting the torrent. By clicking on take away, the torrent are going to be deleted.
- With this, you’ll be able to simply delete all of your files from the pc.
Conclusion
Many aspects area unit thought-about whereas torrenting on macintosh. you need to follow the steps righteously by considering all the mandatory safeguards for the simplest downloads and sharing of the torrent files.

